We all remember the sponge wall paint of the 90s. Using a FULL sponge and a couple contrasting colors to cover a wall. The edges always looked horrible…and honestly, who ever thought it looked good!?!
I remember visiting my cousins after they had just sponge painted their wall with peach and hunter green. They thought it was awesome so I agreed, and thought I just wasn’t cool enough to get it…turns out 98% of the time sponge painting never looked good!
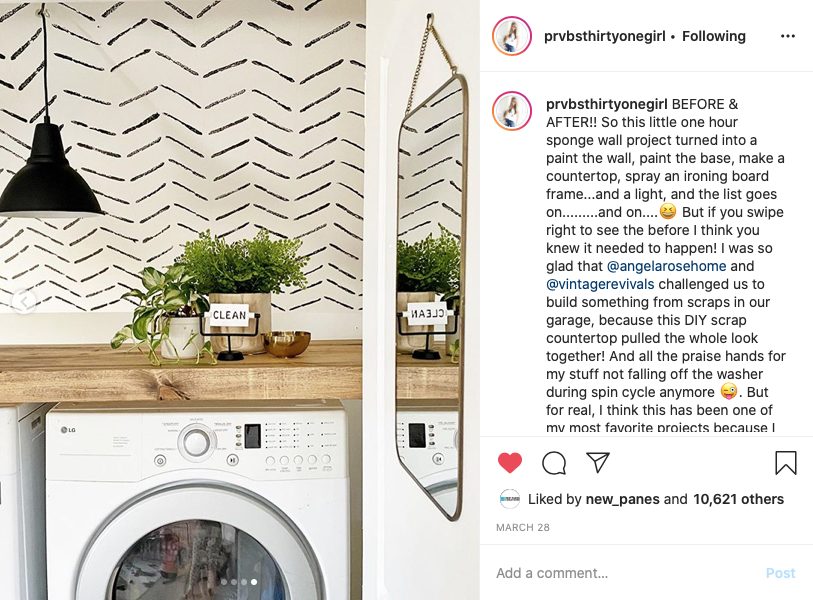
BUT, this is not your cousin’s DIY sponge wall!!! Oh no…check out these awesome and sophisticated patterns. Proverbs 31 Girl was the first to introduce me to this technique when she did this accent wall in her laundry room:
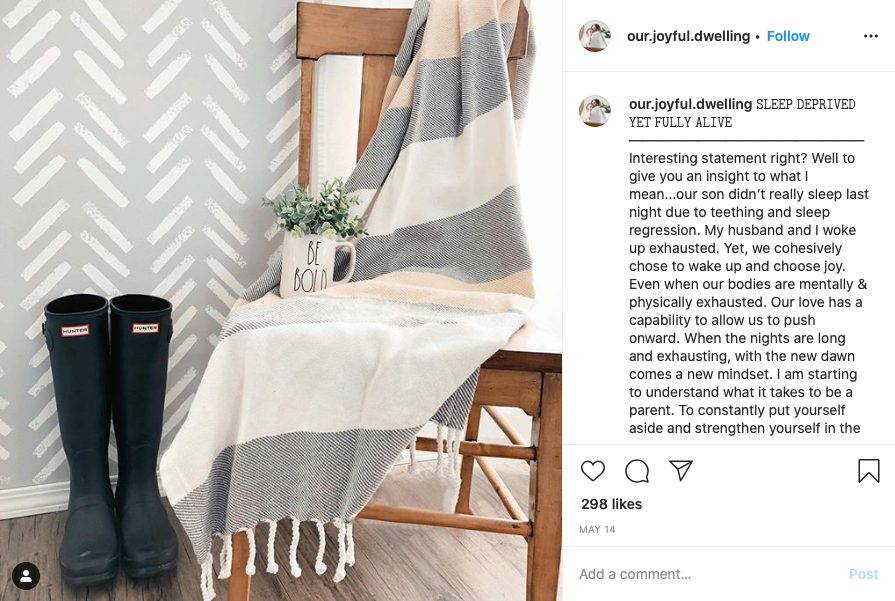
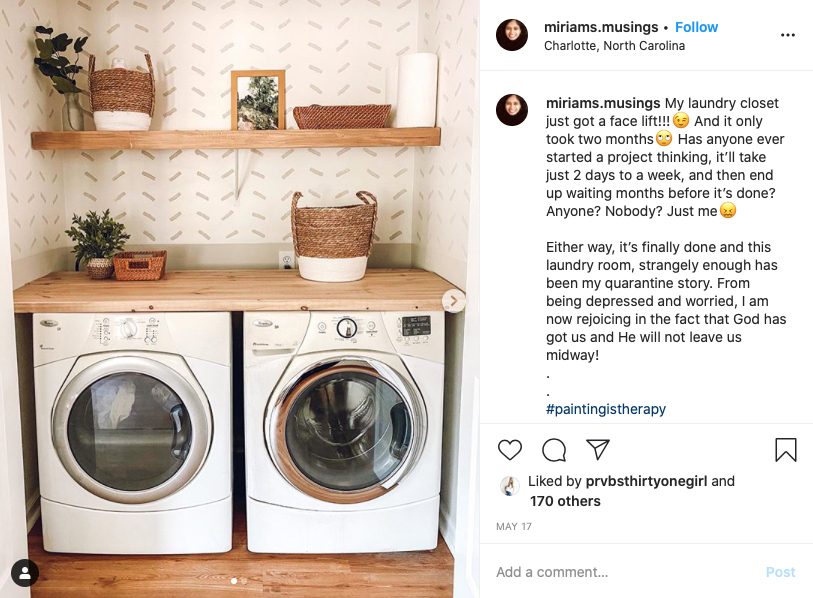
And THEN, I saw all of these other fun sponge wall ideas, too!! What a fun accent wall idea to make any space look modern and current!
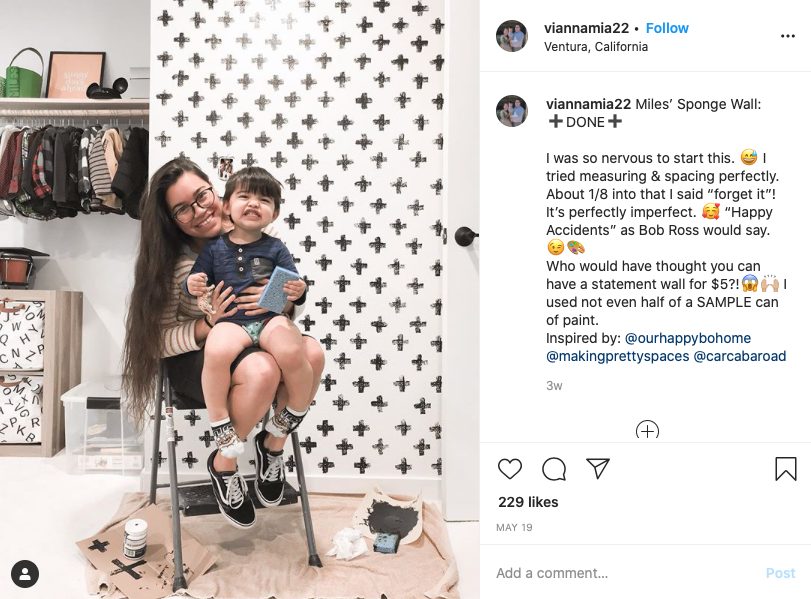
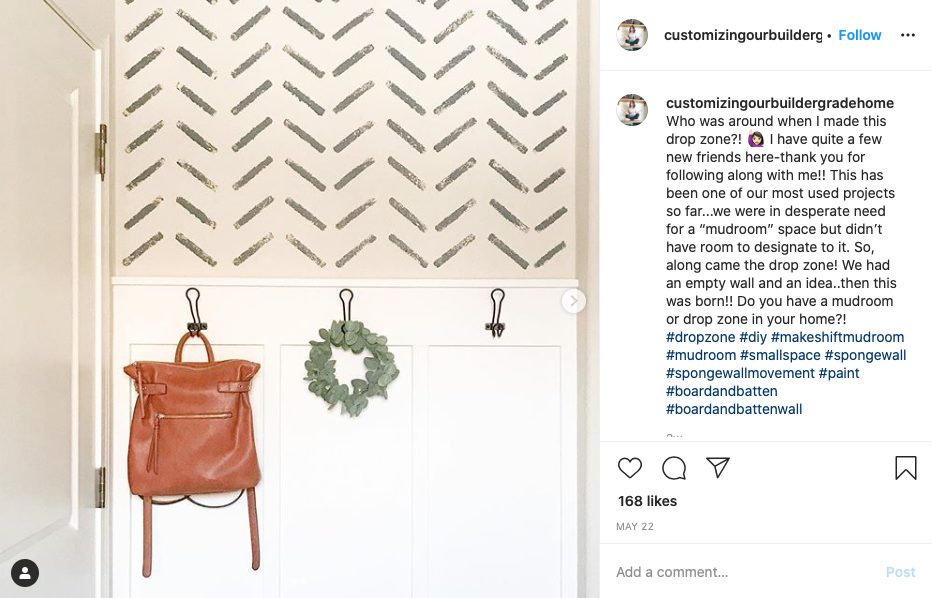
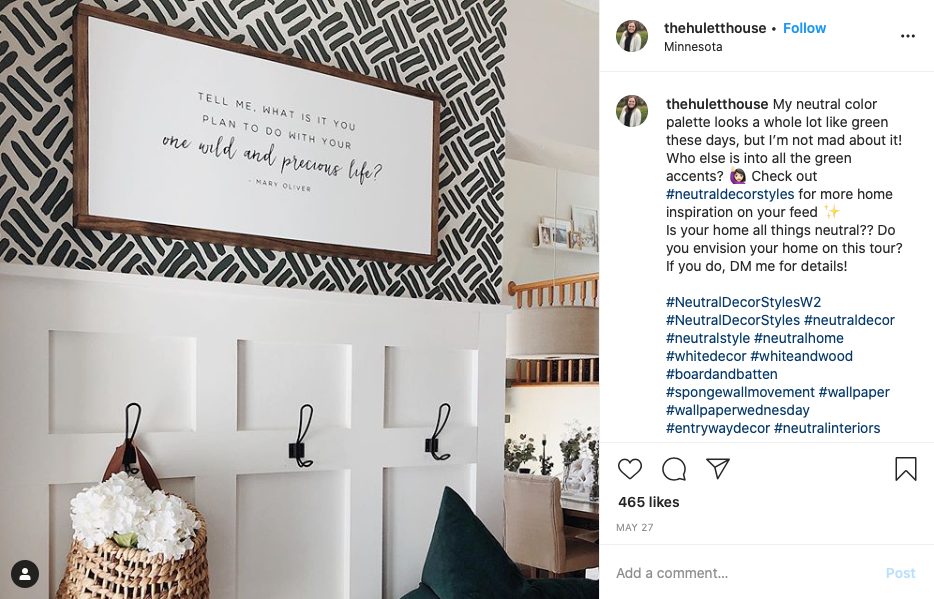
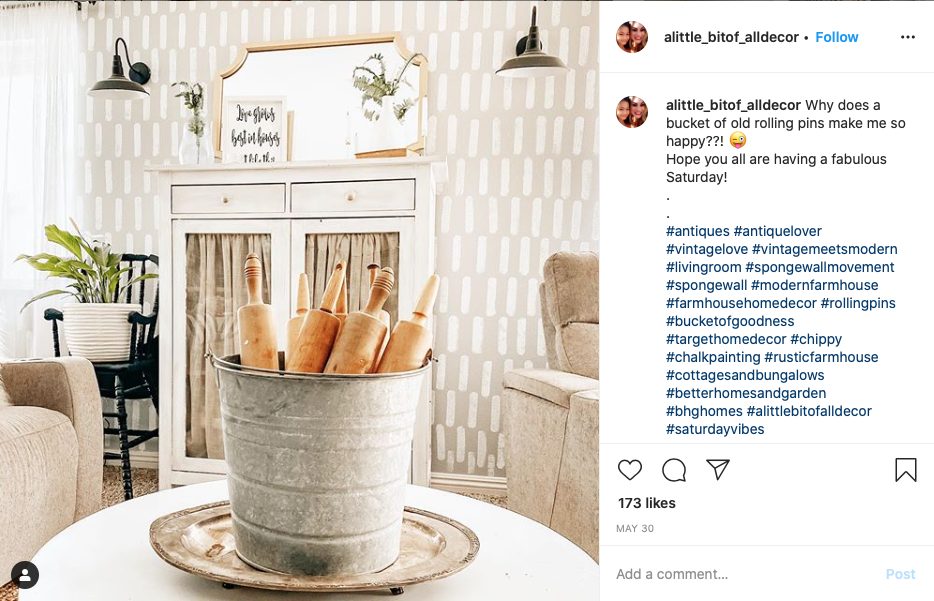
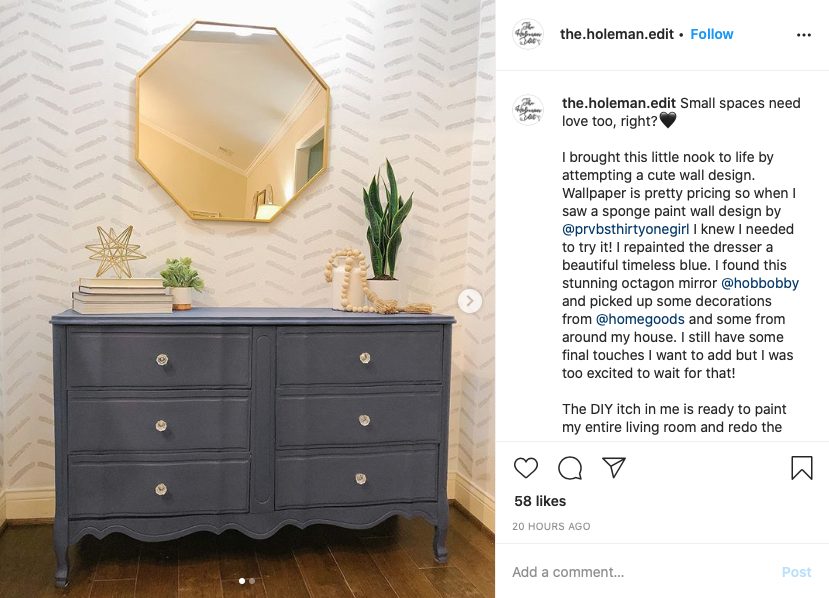
These were all found on Instagram using the #spongewallmovement hashtag!
Okay, so are you inspired now!?! Searching your house for a sponge yet!?! ;) Let’s get started…
Pottery Barn Accent Wall Inspiration
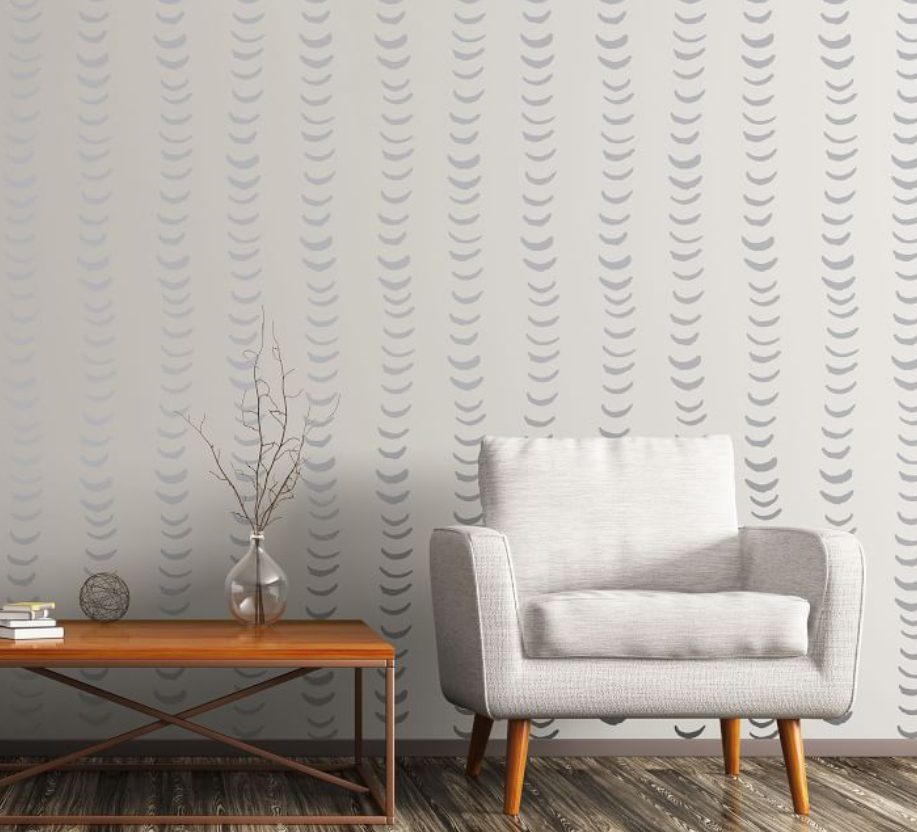
And here is the inspiration I used for this pattern. They are half moon wall decals:
DIY Sponge Wall Materials
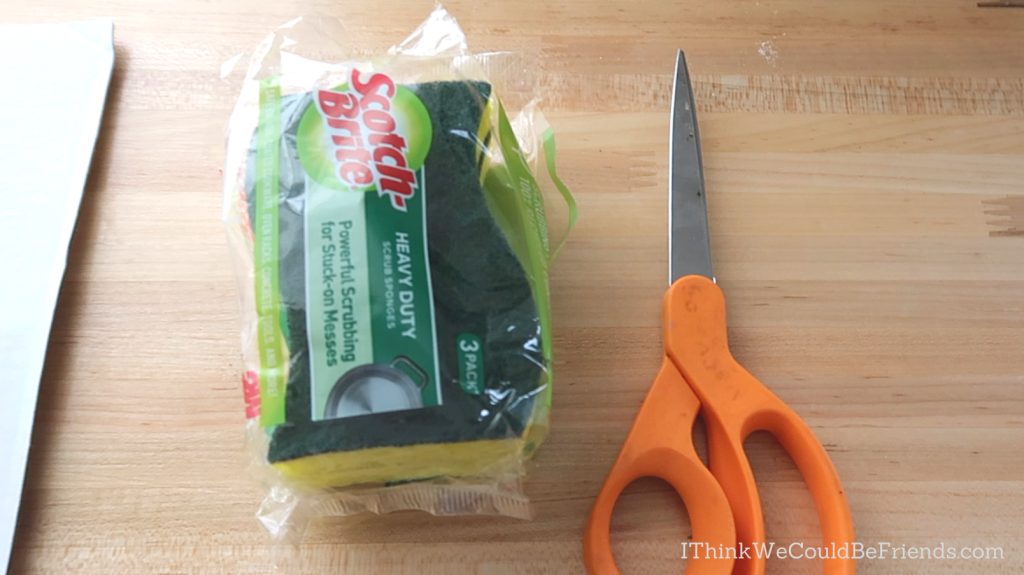
Perhaps the best part? It costs around $4 to completely transform your space (assuming you work for free ;) Here are the materials you need to create your own sponge paint wallpaper:
- 1-2 sponges (I used one sponge for all 3 of my cut-out sponges)
- paint (I used craft paint mixed with wall paint)
- scissors
- a tray to put paint in
- cardboard to dab paint onto

…seriously, like $4 worth of materials to transform a space!
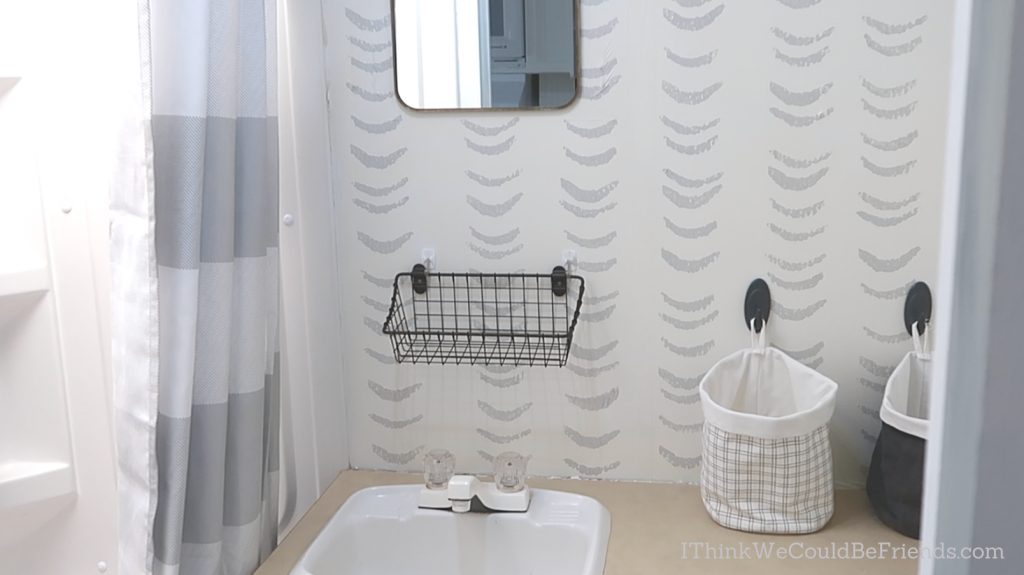
Just so you can fully appreciate the transformation, here is what our camper bathroom looked like before:
DIY Sponge Wall How-To
If the low cost wasn’t enough, the actual process will blow you away (because it’s SO easy!)
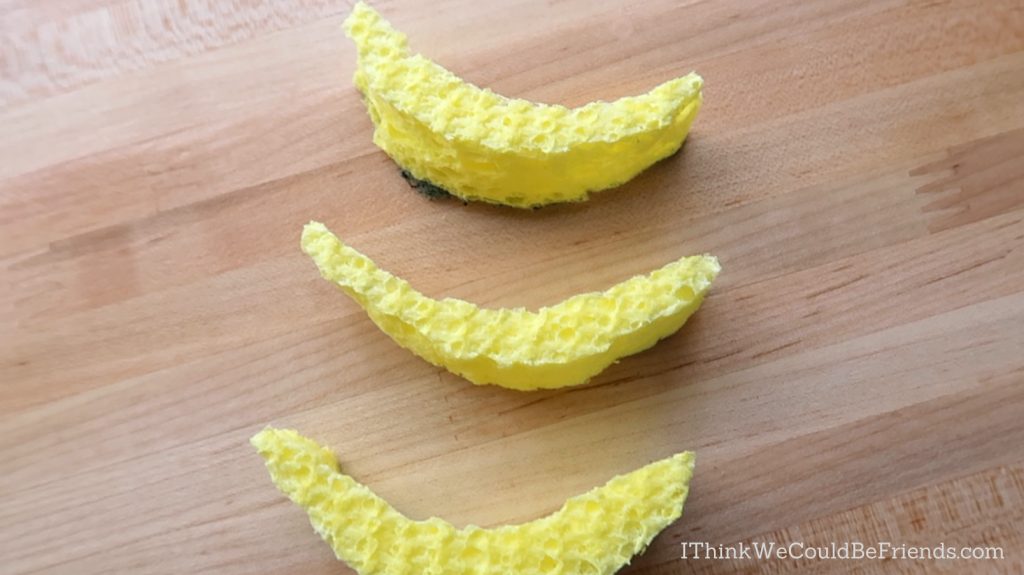
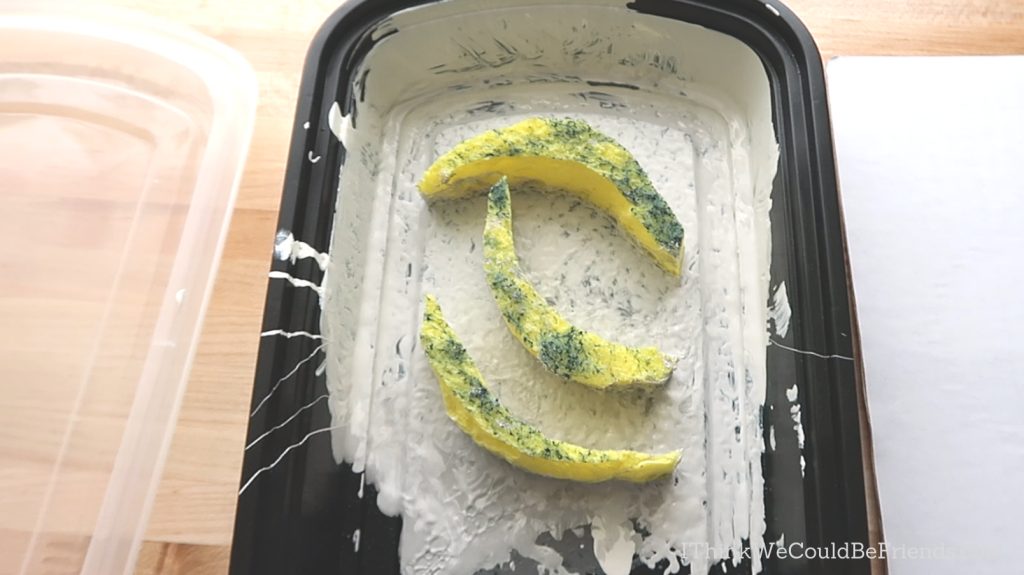
Step 1: Cut out your shape from the sponge. For reference, my shapes are about 3″ wide.
Tip: If your sponges have the green scrubby side like mine, you may want to rip that off, it’s really difficult to cut through.
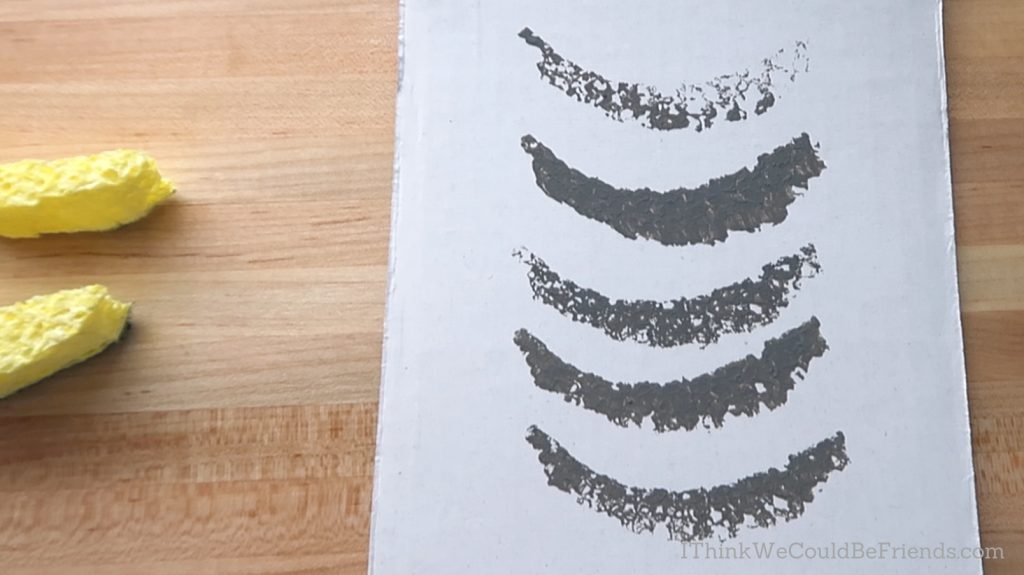
Step 2: Pour paint into your tray and test your sponge and paint color. I used a piece of scrap cardboard to test everything out. I decided to lighten my paint color with the white wall paint after my test run.
Step 3: Draw lines if you need them. If you are doing a pattern with a geometric shape, it is wise to use a level to make guide lines. Use a pencil and mark VERY lightly and you’ll be able to erase them when you’re done.
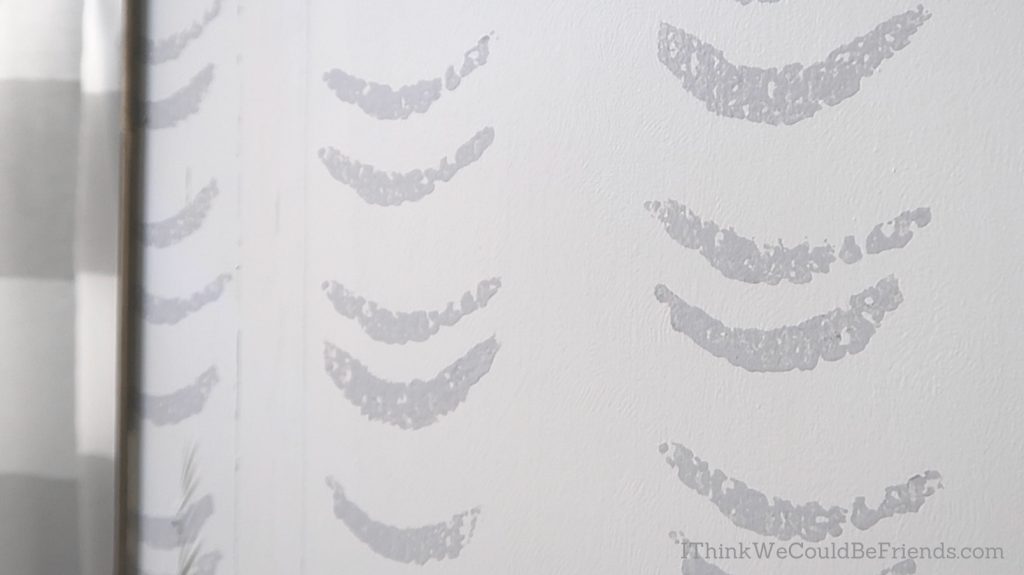
Step 4: Start sponging in the lease noticeable space. This is pretty hard to mess up. Worst case, you paint over it again, but it’s best to start where you won’t see it as much.
Step 5: Finish your design.
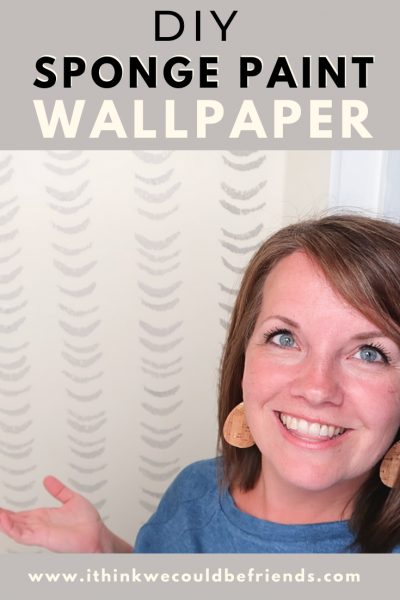
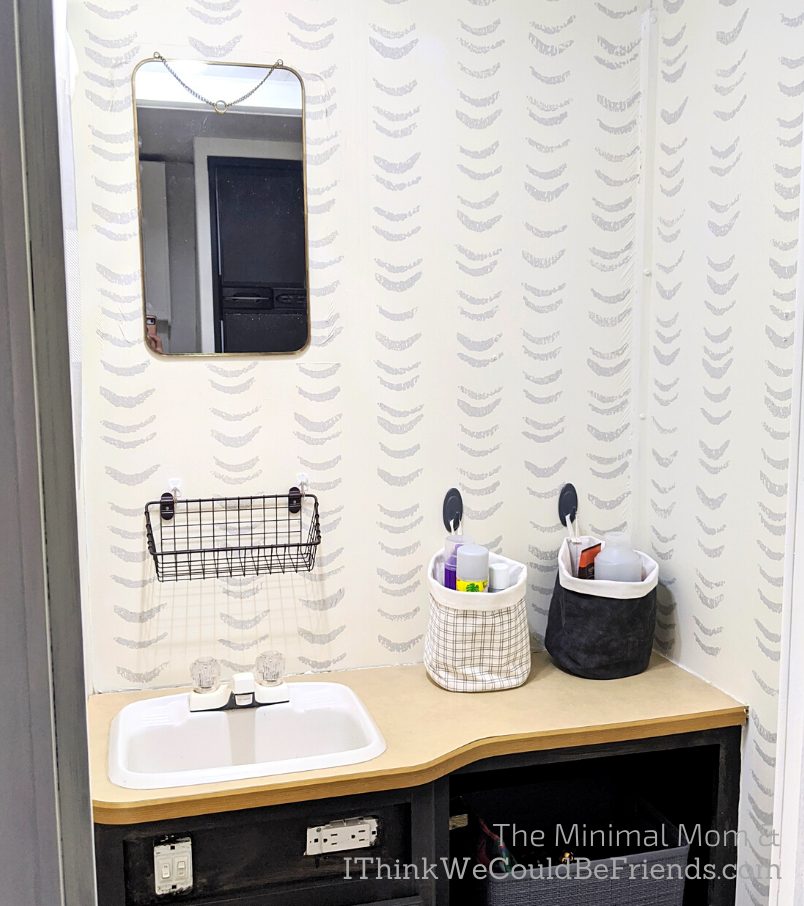
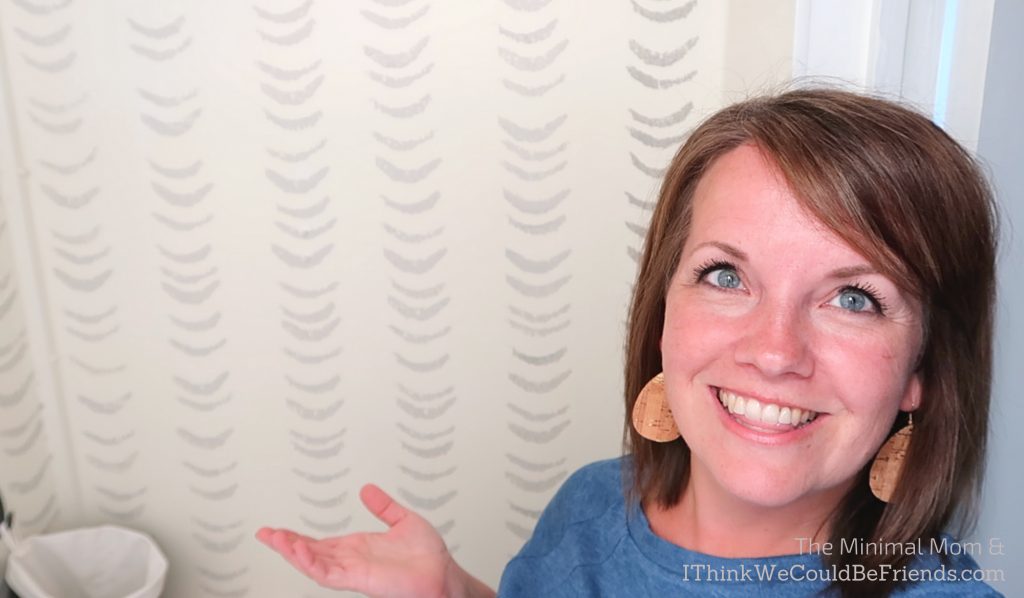
Step 6: Admire your handiwork!! I can’t believe what a huge difference the sponge paint made in our small camper bathroom! And I think…if you don’t know better…it really does look like wall paper! Faux sponge wallpaper for $4? One of my favorite DIYs yet!!
Sponge Wall Wallpaper Tips
Here are a few things that I learned about creating a sponge wall along the way:
- Select your sponge paint pattern based on how precise you want to be. You can see from the designs above, you could spend A LOT of time lining up patterns…or not as much. I didn’t want to spend a lot of time on this project, so I intentionally chose a pattern that I could eyeball. I didn’t draw any lines on the wall.
- Consider edges and corners. When selecting your pattern, consider how many corners you’ll be bumping up against, some are easier to match up than others.
- Think through how much contrast you want. Do you want your sponge wall to be a subtle accent or make a statement? I worried that darker paint would make our bathroom looked cluttered or closed in, whereas the lighter paint adds interest without going over the top.
- Don’t worry about being perfect! There were a few sections I thought I had totally messed up…but when I stood back it all blended together and looked great.
- Step back often to make sure you’re staying on track. Make sure to take a break from your sponging to stand back and take it in. Once you get going, you won’t want to stop, but check it out from a distance every so often to make sure your lines are straight and your spacing is even.
Other Fun Ways to Make DIY Wallpaper

This was super fun and EASY, but if you’re looking for something different, you can also check out my stenciled wallpaper that was part of our office and home school makeover.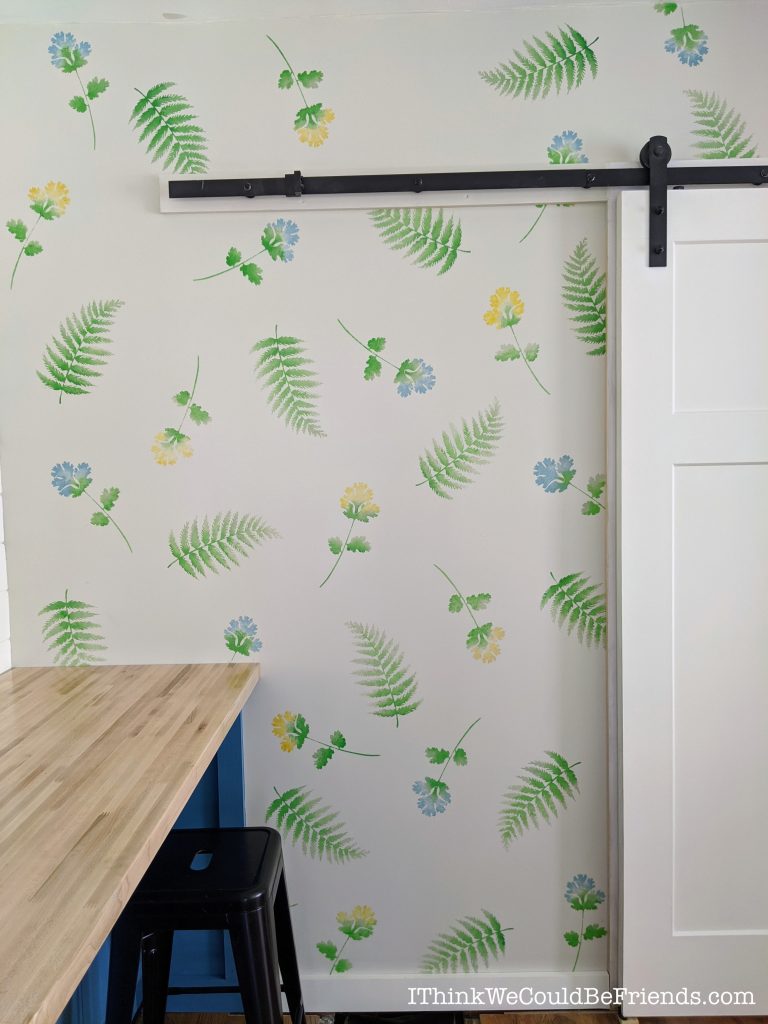
It was a little more involved, but the final product, a watercolor-looking-faux-floral-wallpaper, even surprised me with how well it turned out! You can find more details about that project here.
Thank you for joining us today! We hope your sponge wall artwork turns out awesome and that we can give sponge painting a whole new life ;)
![]()
![]()
Get these on Amazon:
Check out some of our other DIY projects!
>> Staircase & Office Remodel: Before & Afters and Budget Breakdown of the DIY Makeover
>> Super Simple DIY Self Watering Herb Garden
>> DIY Palette Wood Baby & Pet Gate
>> Quick & Easy DIY Hoodie Makeover
Save this to Pinterest!